STEP 1:
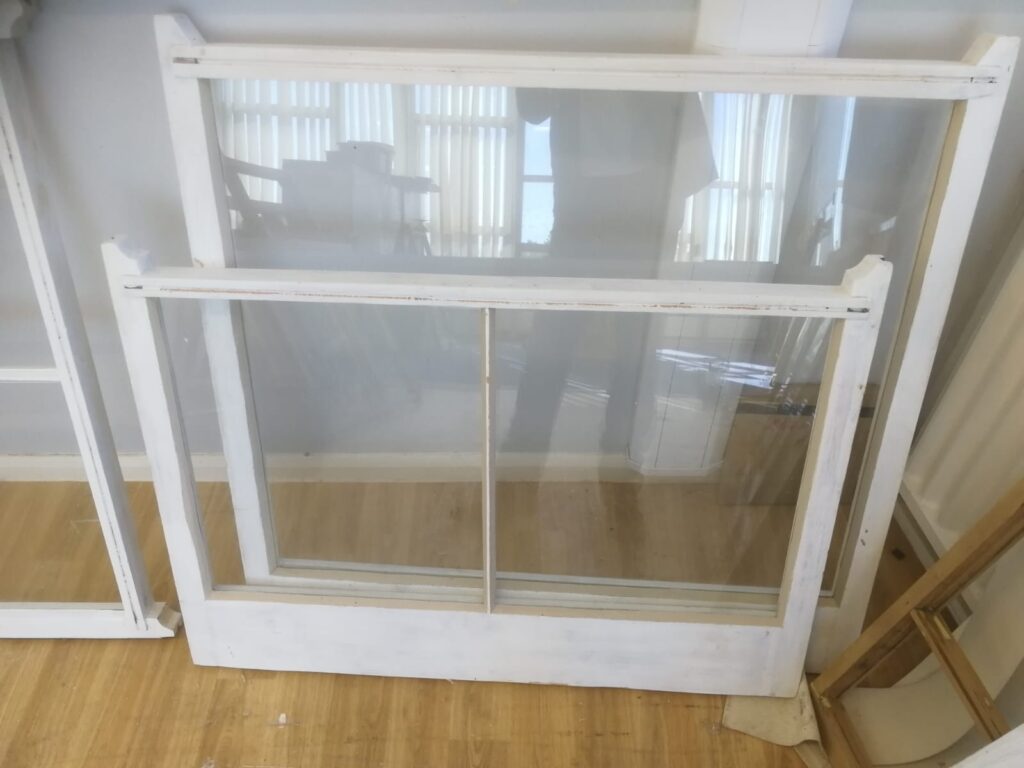
Remove all interior staff beads on all areas of the box frame.
take out the button sash window by cutting the sash cords letting the sash weights drop careful as not to damage any area.
STEP 2
Remove both left and right parting beads using a stanley knife, old chisel and pliers, then remove the top sash window. Now take out the left and right hand side pockets exposing the weights and remove them. Keep it in a safe place in the pocket. they will need to be refitting when installing the restored sash windows.
STEP 3:
Sash window restoration and renovation will always require new sash cords, After removing all the sashs check and balance their weight. take out the sash weight from the sash box frame and balance add new lead weights or full new lead to equal the sash window.
Step 4:
All over Sussex sash window restoration east to west. After removing the sash check pulleys and renew if necessary using thin string attach a small piece of lead and thread it through the pulley attach new sash cord and pull it up the box frame through the pulley. Now attach the balanced weights, pull them to the top of the sash box frame to the top of the pulley and pin.
Step 5:
All over sussex sash window restorations will require the sash window removed for any sash window repairs. All sash windows restoration and renovations for the best possible lasting finish will also need all old paint work taken back to bare wood on the bos frame areas.
Step 6:
Full sash window restoration deglaze all old glass ready for any new glazing required . Strip all old paint back to back wood on all areas of the sash windows. Sand thoroughly and prime, Deglaze and full decorate interior exterior of the sash window.
Reinstall the restored sash windows using new parting and staff beads fitted with new brush.
When the full restored sash windows have been reinstalled all r remaining decoration to all areas of the box framing sill and mouldings can finished.