Sash windows can be easily replaced when the wooden frame is in good condition. If that’s not the case, the entire thing will have to be removed and replaced with a brand new Sash kit.
With time, it’s common for sash windows to face loose hinges and joints, broken cords and poor putty and windowpane conditions which demand immediate replacement. It’s always better to hire experts to do the replacements as they are equipped with the right tools and techniques to get the job done. However, if you want to give it a try yourself, here’s a step-by-step guide for you on wooden sash window replacements. Read on.
1- Inspections and measurements
Before you can begin with replacements, you must inspect the entire window to find the real problem and ensure that nothing else is getting missed. Since you are replacing the window, make sure you take proper measurements. Measure the entire frame, sash, top of the sill, and the jambs to have accurate measurements of every part of the window.
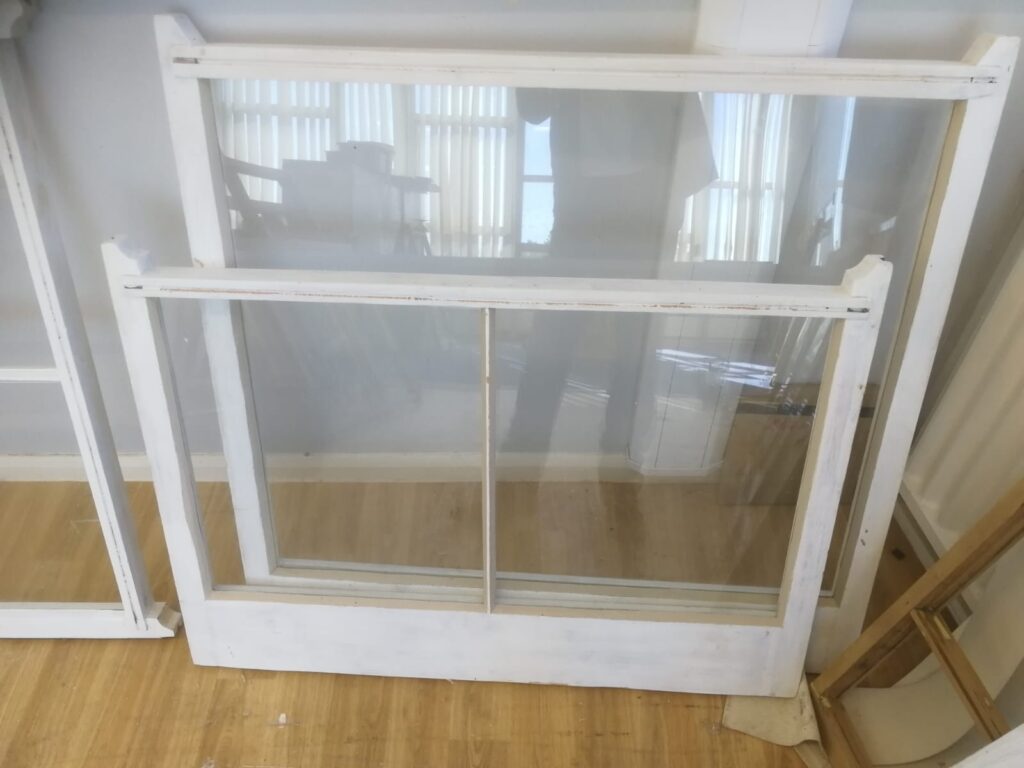
2- Remove the sashes
Time to get started! If it’s the lower sash that needs replacement, then it’s easy as you will only need to remove the lower sash and replace it with a new one. However, if it’s the upper sash, then it’s a tedious process as you’ll have to remove both the lower and upper sashes and then start with the replacements. Since it is a complex process, it’s better to hire experts for this kind of sash window refurbishment and replacement.
3- Remove the jamb liners and prep the frame
Now that the sashes are out, it’s time to remove the jamb liners. Vinyl and aluminium jamb liners can be easily removed using a flat bar otherwise wooden stops will have to be removed from the original window. Be careful with whatever you do because you don’t have to remove the castings.
Use this time to prep the frame. Remove old paint and putty along with any rot that you might see. Fill in the cracks and the rots with wood-filler putty and allow it to dry. Once dried, scrape off the excess and smoothen the surface. Now prime the entire frame and jambs and paint the surfaces.
4- Take out the weights
Now that the weights are accessible to you, pull out the original sash weights by removing the pane. Once the weights are out, clean the panel and get ready for insulation.
5- Time for foam and caulk
For insulation, start by foaming the frame while using a low-expanding foam that works excellently well for both windows and doors. Spray this foam in the holes in the windows along with the weights panel. Let it sit and harden for 5-6 hours and get rid of the excess. Any spots that might have been missed can be filled with caulk. Cover the entire windowsill with proper caulk beadings for added insulation.
6- Reinstall the sashes
Now that insulation is in place, put back the weights and reinstall the cords properly. Now, reinstall the new sashes from inside the room. Hold and press it tightly in the window frame and ensure proper fitting. Fasten the sash with screws in the upper sash to hold it well. Once you see the window is properly functioning, close it.
7- Finishing touches
Fill any gaps with foam and trim the shims for buttery movement of the sash. Stain and paint the sash and windowpane as per your liking and check every inch of the window properly. Your wooden sash window is effectively replaced!
It’s more challenging than it sounds, which is why we highly recommend you hire specialists in sash window restoration in Chichester. They will carefully inspect the entire window and suggest the right plan of action to enjoy maximum benefits at minimum expense.